Installation of Non-Woven Wallpapers
Accessories and Tools
- Primer: priming agent
- Adhesive for heavy non-woven wallpaper
- Adhesive mixer
- Brush and roller for adhesive
- Clean, damp cloth
- Wallpaper seam roller
- Wallpaper smoother (squeegee)
- Pencil
- Utility knife with snap-off blades
- Measuring tape
- Spirit level or laser level
01. Preparing the Wall for installation
- Wallpapering should be done at the end of the renovation. The room should be thoroughly cleaned before wallpapering begins.
- Do not: ventilate the room, use air conditioning, create draughts and sudden temperature changes during the wallpaper application and 24 hours after installation.
- The wall on which the wallpaper will be applied should be perfectly smooth. A porous surface, such as textured plaster, is not suitable for application – the wallpaper will not stick.
- The wall should be in a uniform light colour. A painted wall should be primed – we recommend priming twice with a deep penetrating primer.
- The walls adjacent to the wallpapered surface should be painted before the wallpaper is applied, and the colour on the wall should overlap the wallpapered surface (approximately 5 mm).
- If there are wooden, stone or metal elements on the wallpapered surface, they should be acrylicized and thoroughly washed before the wallpaper is applied. If the acrylic is applied after the wallpaper has been installed, the wallpaper may be damaged.
- The sockets on the wall to be covered must be installed without holders. Drill holes for lighting or decoration before applying the wallpaper. If there are radiators in the area where the wallpaper is to be placed, they must be removed.
- Move the furniture away from the wall to be wallpapered to a distance of at least 1 metre. The wall surface must have a temperature of at least 10 °C.
02. Checking the Wallpaper
Each shipment of our wallpaper includes:
- wallpaper panels with a width of 60 to 110 cm
- technical design
- installation instructions
After removing the wallpaper panels from the packaging, place them on a flat, clean surface and check their compliance with the technical design attached to the packaging and whether the panels match each other in terms of colour and pattern.
If the pattern does not match or the panels are damaged, please file a complaint and do not apply the wallpaper to the wall!
The wallpaper is always prepared with a five-centimetre reserve on each side (5 cm at the top, bottom, right and left). It is necessary for any irregularities in the walls, ceiling, floor, and the excess wallpaper should be cut off with a sharp wallpaper cutter after it has been placed on the wall.
03. Installation instruction for vinyl wallpaper
FREZO vinyl wallpapers are prepared for installation in one of two ways
- Edge to edge – the edges of adjacent strips should touch.
- Overlapping (for cutting by two) – adjacent strips have a common surface (a vertical strip of approx. 2-3 cm), which is cut on the wall and unnecessary fragments are removed. When properly installed using this technique, the joints of the strips should be invisible.
Information on which of these techniques the wallpaper was prepared in can be found in the technical design attached to the wallpaper.
Apply the adhesive (intended for heavy wallpapers) only to the wall – apply a strip of the width of the panel plus a few centimetres reserve. This will ensure that the adhesive does not dry out before the panel is installed. We recommend using adhesive for heavy wallpapers when wallpapering. The subsequent panels are installed on the wall from top to bottom and smoothed with a squeegee. The wallpaper is smoothed from centre to edge, which will remove any air bubbles. Dark wallpapers should be applied with a roller and not a squeegee. Any excess adhesive is removed spot-on, without rubbing the wallpaper surface.
Wallpaper whose surface has not been treated with varnish must not be scrubbed – especially when wiping dark parts of wallpaper, you can wipe off a layer of paint. Particular care should be taken with dark sections of wallpaper.
Once the wallpaper has been stuck to the wall, it should not be moved. If it is positioned imprecisely, it should be peeled off the substrate and the pattern re-adjusted.
The wallpaper should take several days to dry in the room. During this time, do not: ventilate the room, use air-conditioning, bring about draughts and sudden temperature changes
04. Useful tips
The dark section of wallpaper has been discoloured by excessive rubbing – we recommend using dry pastels to retouch the damage. If a large area of wallpaper is damaged, it is a good idea to additionally protect it with a specialist varnish.
Dark wallpaper pattern and visible white marks on the joints of the panels – we recommend colouring the edges of the wallpaper with a marker in a suitable colour before applying it to the wall or using dry pastels on the joints after applying it to the wall.
05. WET System and Additional wallpaper protection
Soon
Installation of Peel&Stick wallpaper
Introducing the highest quality self-adhesive textile material that combines the convenience of multiple uses with quick installation. Its base is a fabric with an internal adhesive layer, allowing application to any flat surface – from walls to furniture. The printing technology guarantees vivid and realistic colors. Importantly, the wallpaper is fully repositionable, does not stain walls, and can be easily removed at any time. This semi-matte textile material with a linen structure is installed without the use of glue.Accessories and Tools
- Primer: priming agent
- Smoothing tool: wallpaper smoother (squeegee)
- For marking: pencil
- For cutting: utility knife with snap-off blades
- For measuring: measuring tape
- For leveling: spirit level or laser level
01. Wall Preparation
For proper wallpaper installation, the wall should be smooth, dry, clean, and primed with an appropriate primer. Ensure the color is uniform, remove old coatings (paints, varnishes, wallpapers), and any protruding elements (sockets, baseboards). Fresh plaster and paint must dry for approximately three weeks. Surfaces with ceramic, latex paints, or those with poor adhesion should be sanded before priming. Any imperfections should be repaired to ensure a perfect result. Improper wall preparation may hinder installation.
02. Checking the wallpaper
Before starting the application, carefully unroll the wallpaper on a clean surface. At this stage, verify that all ordered rolls (wallpaper strips) have been delivered and that the pattern matches your order. Carefully inspect each wallpaper strips for any manufacturing defects such as distortions, uneven colors, discoloration, or dimensional differences exceeding one percent. Ensure that the color saturation is uniform across all strips and that the motif aligns smoothly. If any manufacturing defects are detected, please file a complaint before proceeding with the installation. For ease of installation, each strip is numbered on the back, indicating the order of placement from left to right.
Please note that we do not accept complaints regarding manufacturing defects after the wallpaper has been installed.

03. Plan the Wallpaper Layout on the Walll
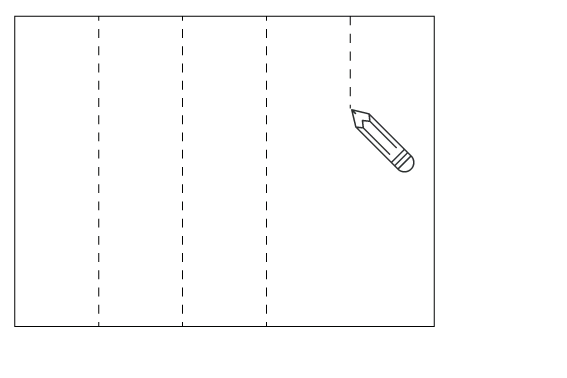
For precise installation of the first wallpaper strip, use a measuring tape and a pencil to draw a vertical line on the wall, or use a laser level to mark this line. This marked line should correspond to the width of the first strip. Remember that the wallpaper has an extra 2.5 cm (1 inch) on each side. Installation always starts from the left, so shift the line marking the width of the first strip 2.5 cm (1 inch) to the left of where the left edge of the wallpaper is to begin.
04. Applying the Wallpaper
Apply the wallpaper by gradually unrolling the roll from top to bottom, simultaneously peeling off the backing layer to expose the adhesive. While applying, press the wallpaper against the wall using a smoother (squeegee) to remove any air bubbles from under the material. Regardless of the tool used, do this carefully to avoid damaging the wallpaper surface. Align the edges of subsequent strips to the previous one, edge to edge, unrolling them from top to bottom as well. Pay particular attention to precisely matching the pattern between adjacent strips for a seamless effect. After applying the wallpaper, carefully trim any excess material with a utility knife with snap-off blades, pressing the edge of the wallpaper firmly to prevent tearing during cutting.Dots
DOTS. Wall decoration
The DOTS wall decoration is made of the wallstick material. Wallstick is a self-adhesive, textile material of the highest quality that allows for multiple uses and quick installation. The base of the Wallstick material is a fabric whose inner layer is factory coated with adhesive. The latest technology ensures that DOTS is suitable for use on any flat surface, walls, furniture, or doors. It does not leave any stains on the walls, and most importantly – you can easily peel it off at any time. This type of material is installed without the use of adhesive. Fully repositionable self-adhesive wallpaper, textile material, semi-matte with a linen texture.Accessories and Tools
- Primer: priming agent
- Smoothing tool: wallpaper smoother (squeegee)
- For cutting: utility knife with snap-off blades
- For measuring: measuring tape
- For leveling: spirit level or laser level
01. Wall Preparation
To ensure perfect DOTS application, the wall should be smooth, dry, clean, and primed. It is important that the substrate color is uniform. Fresh plaster and paint must dry thoroughly (approximately 3 weeks). Surfaces covered with ceramic, latex paints, or those with poor adhesion should be sanded before priming. Any unevenness or imperfections must be removed. Improper wall preparation may prevent proper installation of the decoration.
02. Check the DOTS
Upon receiving the DOTS decoration, carefully unroll it on a clean surface and verify that it matches your order. Thoroughly inspect the product for any manufacturing defects such as distortions or uneven colors. If any defects are found, please file a complaint before proceeding with the application. Please note that complaints regarding manufacturing defects will not be accepted after DOTS has been installed.

03. Plan the DOTS Layout on the Wall
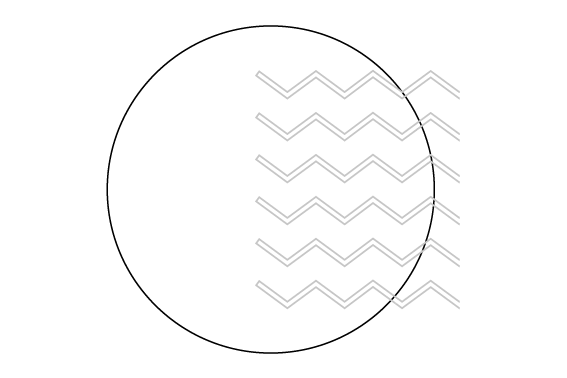
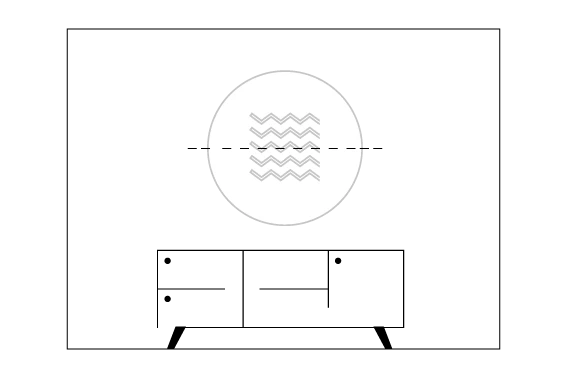
For precise placement of DOTS, use a laser level to mark guidelines on the wall where you plan to apply it. These lines will help you center the design perfectly. Always start the DOTS application from the top.


